


1. What Is a Mini Split AC and Why Choose Ductless Air Conditioner Installation?
Mini split AC is a form of air conditioning architected to be ductless and offer proficient cooling and heating capabilities without having to employ the use of conventional ductwork. Ductless mini split installation is a favored option by many homeowners due to the flexibility of temperature control, cost savings on energy consumption, and facility to install when compared to the central HVAC system. Mini split systems provide one of the best solutions to upgrade your living room, or even cool air in a place where ductwork is impossible. This residential ductless air conditioning system installation has enabled people to put the indoor unit on the wall or ceiling where it can serve as an addition to the house, garage or addition to the house. Whether you have been asking yourself the question of how to install mini split or how to install ductless HVAC in Central Islip,Kings Parks NY. this guide will explain to you the necessary steps.

2. Tools and Materials Needed for Installing a Mini Split AC Unit
The installation process of the mini split AC is simpler when the required tools/materials have been prepared in advance. Some of the necessary equipment are a drill, hole saw, torque wrench, vacuum pump, refrigerant gauges and electrical equipment. Items you require are the indoor air handler, outdoor condenser unit, the refrigerant lines, wiring, the mounting brackets and the insulation tubing. The thorough planning and preparation of the installation of the ductless air conditioner units means a successful process. Whether you are undertaking a DIY mini split installation or hiring a professional doer, it is important to consider the right tools that will guide a successful project. The equipment allows you to have a proper connection of refrigerant lines, the proper installation of split AC units, and electrical wiring without any danger.
3. How to Plan Your Mini Split AC Installation for Best Results
The careful planning of the mini split air conditioner installation gives the best results. The first potential problem that should be considered consists of selecting the optimal place to install the indoor unit typically this is a wall with good air circulation and accessible to service. Then choose a location to place the outdoor condenser where it will get proper ventilation and where it does not attract much debris. Calculate the distance between your indoor and outdoor units so that your lines of refrigerants are sufficient. Ductless HVAC installation needs to be planned with local building codes and electrical needs. When you will ask yourself the question, how do you install a ductless air conditioner, it is always important to know the layout of the system before installing it to make sure that the errors are minimal and your system will run smoothly over the years.
4. Step 1: Installing the Indoor Unit – Wall-Mounted Mini Split AC Install
The initial big step you will take in your ductless mini split installation is installing the indoor unit. Fix the wall bracket firmly, make it level and make a hole through the wall by drilling a hole to house refrigerant lines, drainage pipe and electrical wiring. Feed the lines through the hole and then connect the indoor air handler to the bracket. A lot of ductless air conditioning systems have the capability of having easy click and lock mechanism to secure the unit. It is also important to be placed properly; do not place your indoor unit under heat or direct sunlight as it will lower its efficiency. In self-installation of a mini split AC, give a careful conduction of this step to avoid the leakage and give the tight fitting.
5. Step 2: Installing the Outdoor Condenser – Split AC Unit Installation
Then, place your outdoor condenser on a firm level surface and not where there is high traffic or in the vicinity of plants. The unit should be fastened with mounting pads or brackets. The refrigerant pipes of the indoor section should be connected to the condenser outside using tight fitting but leak-free fittings. The electrical wiring system of the indoor unit extends to the condenser and has electrical power connection and communications interconnection with units. Airflow and noise are critical issues to be addressed with the proper placement of an outdoor unit. Installation of split air conditioning system has to be done outdoor with a lot of accuracy hence adhere to what the manufacturer says. Both mini split heat pump installation and cooling only installation require proper placement of the condensers in order to affect the longevity of the system as well as its performance.
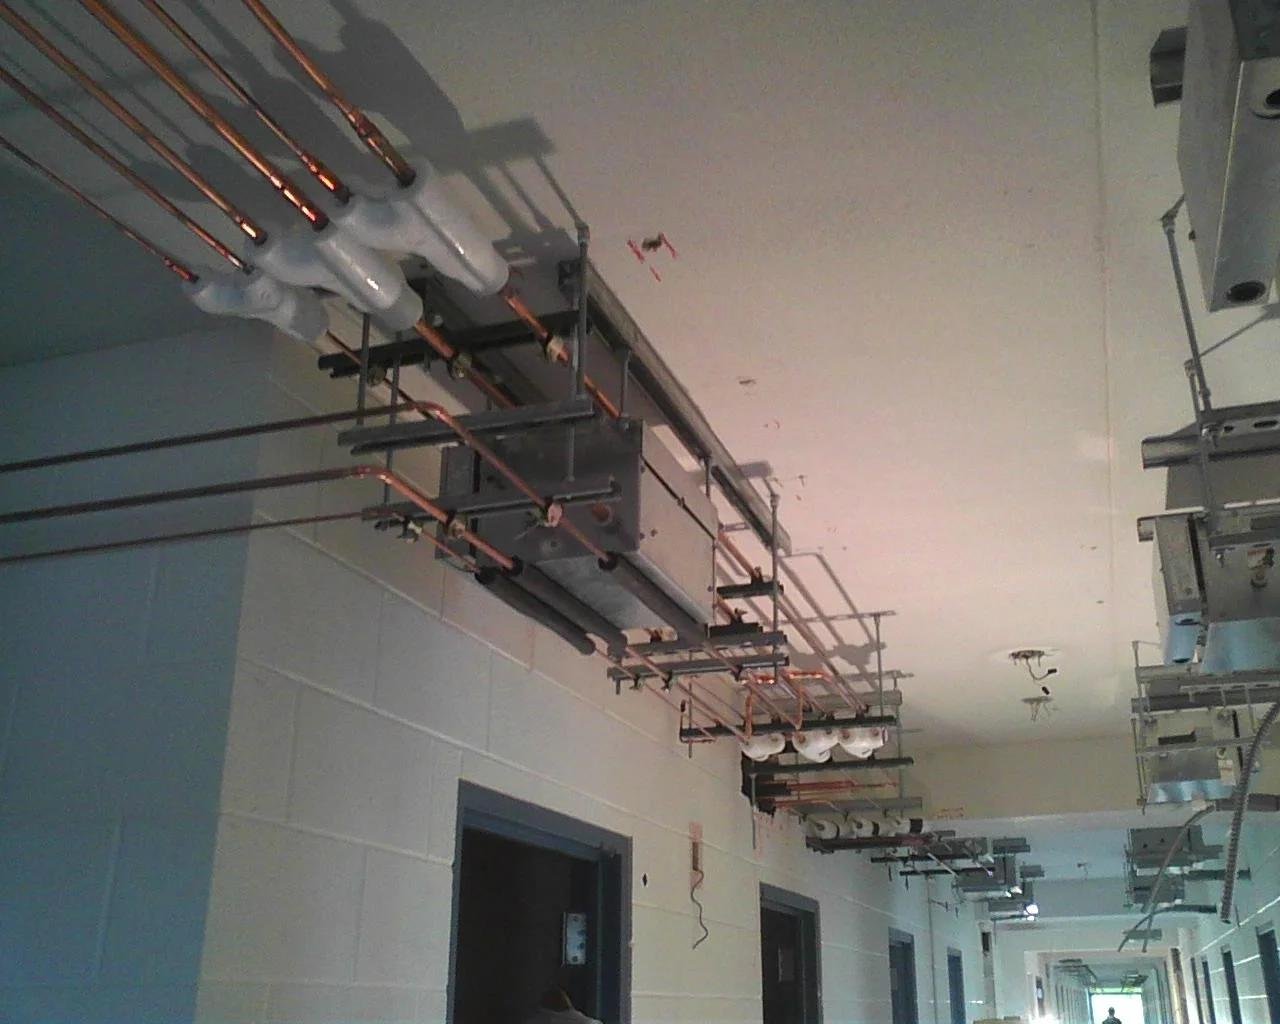
6. Step 3: Connecting Refrigerant Lines and Electrical Wiring for Ductless AC
It is the most technical aspect of installing ductless AC when it comes to wiring and connecting the refrigerants lines. Tighten the copper refrigerant flare nuts with a torque wrench but do not over tighten. Keep the lines insulated against condensation. Electrical connections involve provision of power supply connection to the breaker and the outdoor unit and the communications dial between the indoor and the outdoor unit. The lines may require making vacuum and refilling refrigerant during installation even though many systems are pre-charged. It can be handled correctly to reduce the leak chances and make your system work efficiently. When it comes to electrical wiring or handling refrigerant you might want to refer to a professional, to prevent any danger.
7. Step 4: Vacuuming and Charging Your Mini Split System
Make sure to pump out the air and moisture in the refrigerant pipes by the help of a vacuum pump before turning on your mini split. This is how the process avoids corrosion and upholds the purity of the refrigerant. The system should then be charged with the recommended of amount of refrigerant, which frequently suggests the manufacturer or dependent upon the length of lines. Proper charge of the refrigerants is very important to the efficiency of the system and its life span. This is what many DIY installers miss out on or decide to do without suitable tools at hand, which may adversely affect the unit. In the case of mini split heat pump installation, cooling and heating needs exact amounts of refrigerant.
8. Step 5: Testing and Final Checks for Your Ductless HVAC Installation
After the installation has been done, test your mini split AC system comprehensively. Switch the unit on and ensure that it is cooling and heating accordingly. Look and listen out for any odd noises and check all your connections for any leakage or loose fittings. The drainage line must be open and should be draining well so as to avert water damage. Most mini split systems do have diagnostic modes to aid detection. An adequate testing of your system is an assurance that your ductless installation has been successful and your air conditioner will serve you well. In the event that you discover some issues, refer to the troubleshooting appendix of your manual or contact a professional installer.
9. DIY Mini Split AC Installation: Can You Install a Mini Split Yourself?
The question is that many homeowners wonder whether they can install their own mini split. The solution is related to your electrician skills, as well as comfort with the refrigerant and the physical installation process. Installation of the indoor and outdoor units can be manageable by a skilled DIYer; however when it comes to handling of the refrigerants, this can be a requirement of certification. Registered professionals are required to do HVAC refrigerant work in many jurisdictions. The DIY installation of mini split ACs is economical but lack of correct installation may lead to leaks, inefficiency and canceling of warranties. Ductless A/C installation may require local codes and manufacturer instructions to overcome before an individual decides to conduct the installation.
10. Common Challenges and Troubleshooting Tips When Installing Mini Split ACs
You can run into problems such as leaks of the refrigerant, electrical problems, and improper drainage during installation. Leak of refrigerants also tends to lead to poor cooling and thus close inspection of the connection lines is highly necessary. Electrical wiring errors may deny the system to boot or it may lead to safety. Poor drainage may cause pooling of water or destruction within your house. In case your mini split refuses to start or implies combinations of inefficient operation, examine all bonds and get to know fault codes in your model. Prevention of future problems occurs when regular maintenance is undertaken after installation.
11. Frequently Asked Questions About Mini Split and Ductless AC Installation
Q: How long does it take to install a mini split AC?
A: A professional install typically takes 4-8 hours, depending on complexity.
Q: Do I need a permit for ductless air conditioner installation?
A: Many areas require permits; check local regulations before starting.
Q: Can mini splits provide heating as well as cooling?
A: Yes, mini split heat pump installation offers both heating and cooling.
Q: Is it safe to install refrigerant lines myself?
A: Handling refrigerants requires certification in many places; hire a licensed technician for this step.
12. Conclusion: Enjoy Energy-Efficient Cooling with Your New Mini Split AC System
Minimizing the scale of the air conditioner is a clever idea that can deliver energy-effective, personalized climatic changes achieved by a mini split air conditioner installation. It could be a pro or a DIY process of installation, but the idea is knowing all the steps involved in the process of planning to testing to installation. Ductless air conditioning is reliable during summer and winter and its installation should be efficient to guarantee this. To get experienced installation service in your locality trust F&M HVAC Services, where we will provide professional and quality mini split AC installation service in Central Islip, Kings Parks NY, to the needs of your home.